Configuration du NAS SYNOLOGY MariaDB 10 pour PaperOffice

Michael Zimmermann
Créé: 08.01.2020 1:57 - Mis à jour: 04.08.2020 5:51
We would like to point out that PaperOffice assumes no responsibility for the correctness and completeness of your facility on third-party software and hardware. To do this, contact Synology Support or use our paid support if you need help.
If you need help from our technicians, you can purchase support units directly here or use your PaperOffice Service Agreement. Contact your personal contact or, if you do not yet have a service agreement, you can complete it by sending an inquiry to sla_support@paperoffice.com.
Setting up the MariaDB 10 database is very easy and is described in detail in the current entry. It is very important that the settings are made exactly as they are described here.
You can also see the steps in our video tutorial by clicking the following HelpDesk entry .
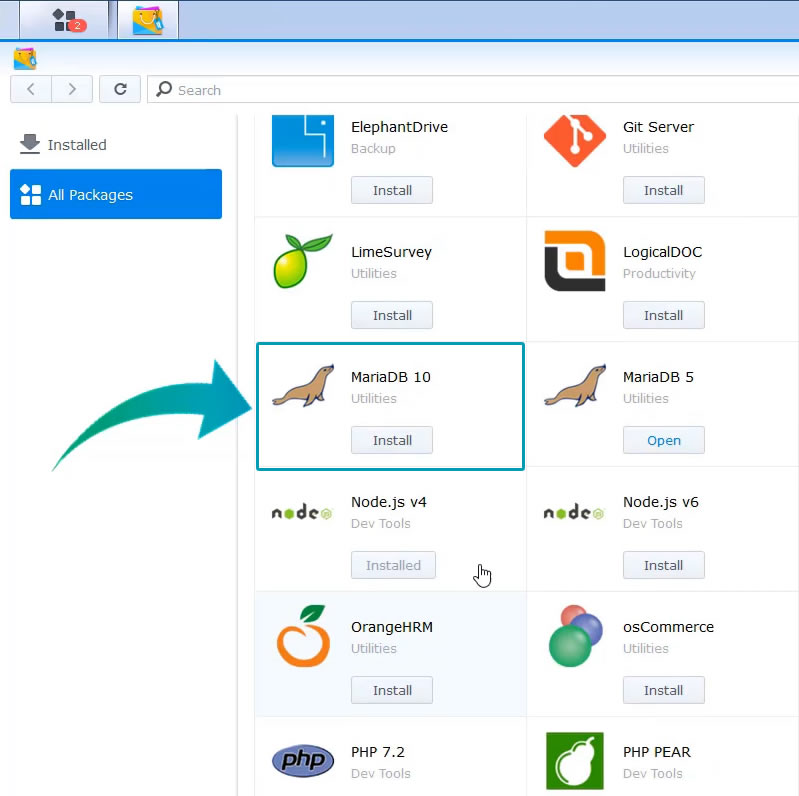
Start Synology's Disk Station Manager first and then open the Package Center. All packages are listed.
Now select MariaDB 10 and click on the name "MariaDB 10". Please make sure that it is the 10th version of Maria DB.
The loading bar shows you the progress of the download. After the download process has been completed, you will be asked to set the root password for the MariaDB in the new window.
We recommend defining an identical password as that of your Synology login credentials to make it easier to remember.
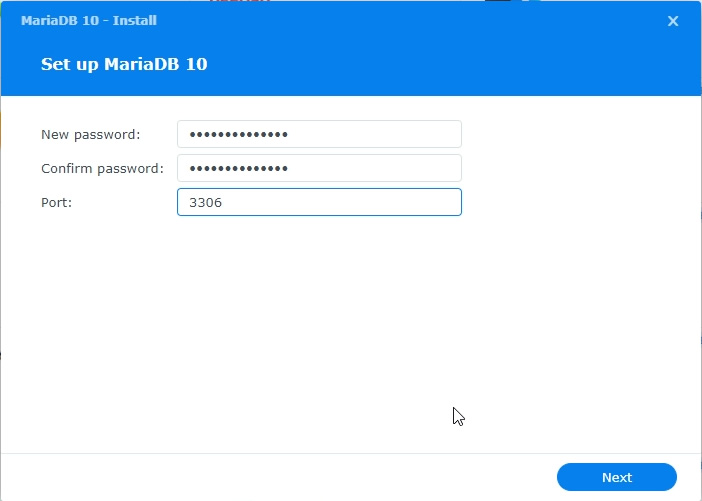
Then click on "Next". Now the wizard prompts you to confirm the settings, accept them by clicking "Done".
MariaDB is now installed.
After the MariaDB has been installed, go into the package by clicking on "Open" and check the box next to "Enable TCP / IP connection" and confirm the change by clicking on "Apply".
Now go back to your package center and click on the name of the utility “php my Admin”.
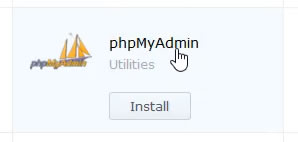
Install the program. The installation process does not take long. Then click on "Open".
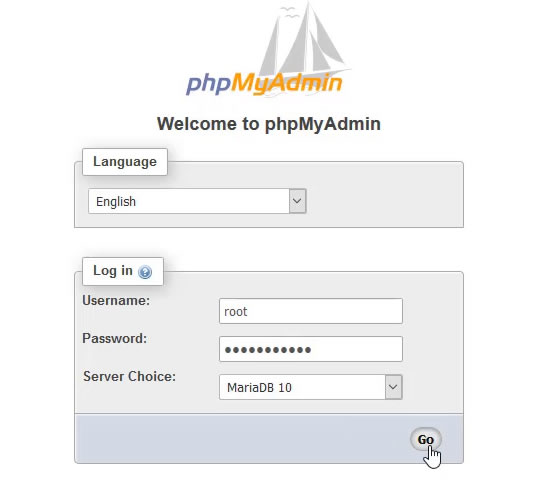
In the phpmyAdmin login window enter the user name "root" and the password just entered. Confirm the entry with “Go”.
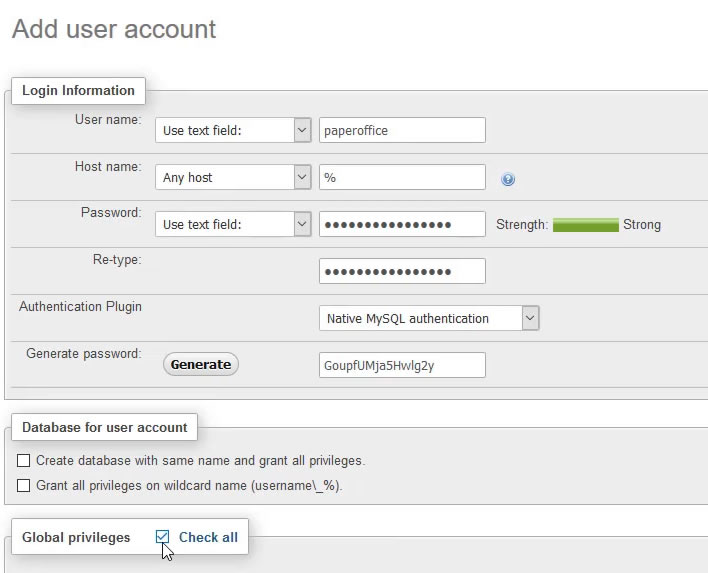
Now you need a database user account, which is used by PaperOffice. Click on "User accounts" and then on "Add user account".
Enter any user name in the "Username" section, we recommend the name "Paperoffice" and also enter a strong password. Repeat the password you just entered.
In any case, make a note of the generated password.
In the Global privileges area, select "Check all" and then confirm the entry by clicking Go.
The message above tells you that the user has been added.
This completes the setup for your MariaDB 10 on your Synology NAS. The next step is to connect this database in PaperOffice.
Integration of the MariaDb 10 in PaperOffice
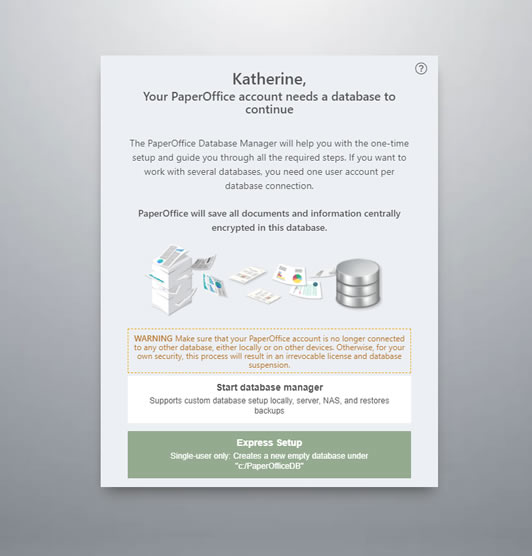
Start now your PaperOffice and click “Continue” to connect to a database.
If you were previously connected to a database, you must first disconnect it. How this works is already described in detail in our other HelpDesk Topic.
Then select "Start Database Manager".
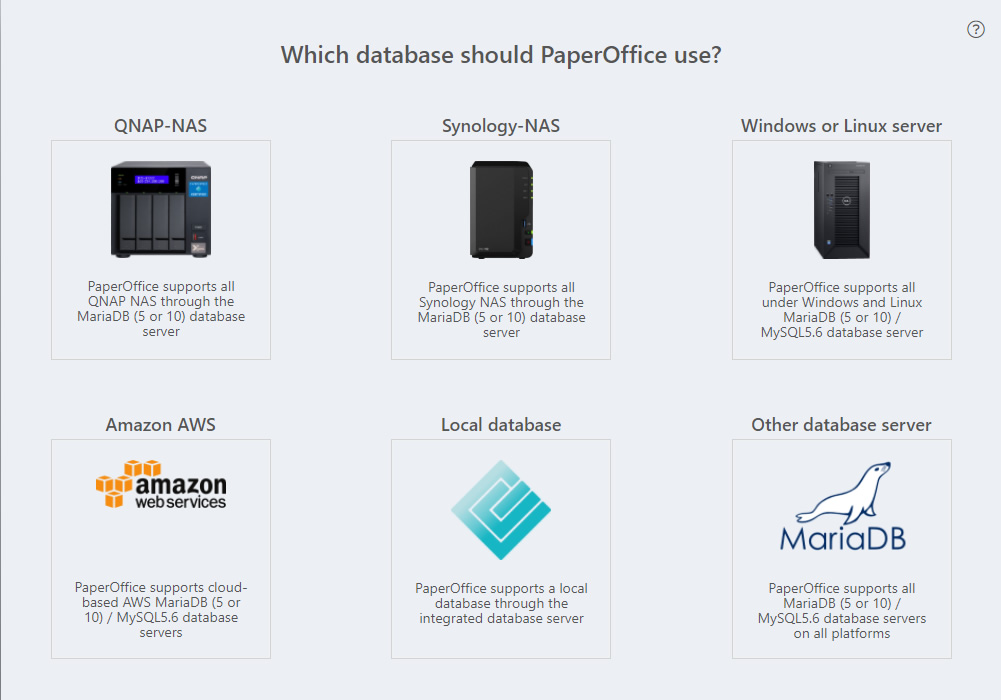
In the next step, select the storage medium "Synology NAS" and click on the corresponding image.
Now select "Create new PaperOffice Database" and enter the IP address of your Synology NAS in the corresponding area in the following step.
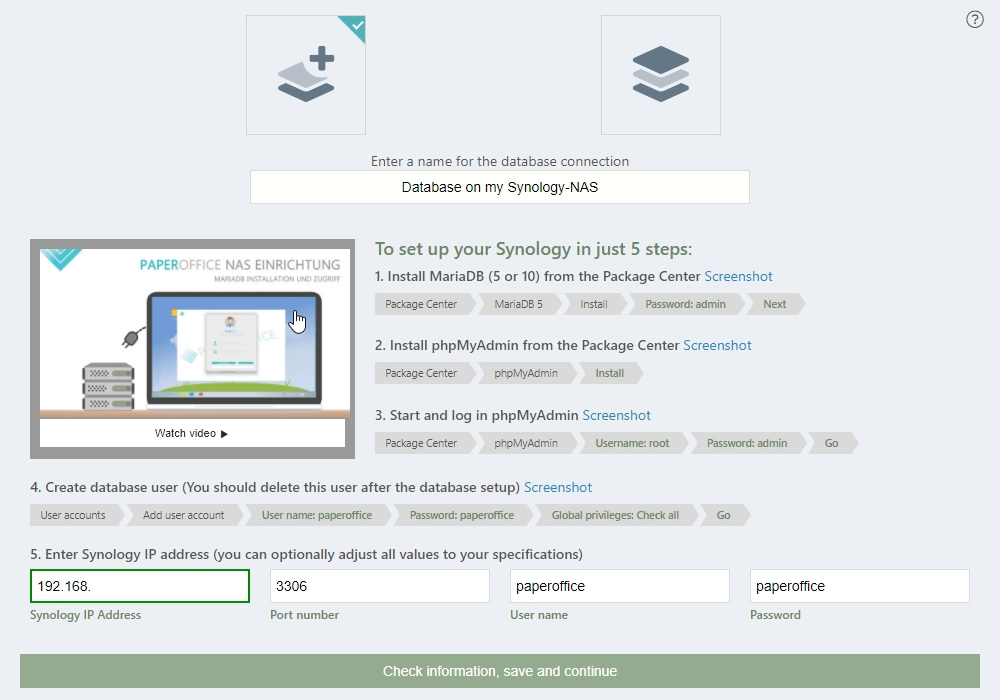
Then click on "Check information, save and continue".
The new PaperOffice database will be created. The process takes a moment.
The next step is to generate the unique Master Keys for the database you just created.
Save them carefully.
After both keys have been saved, click on "Everything ready :) Now we can proceed”.
A new database has been created and you are connected to it.
Click "Continue" to sign up.
PaperOffice now uses the newly created SQL database for the entire storage.
This completes the setup.